PrestaShop is a free, open source e-commerce solution. It supports payment gateways such as DirecPay, Google Checkout, Authorize.Net, Skrill, PayPal, PayPal Payments Pro (Direct) and EBANX Checkout via their respective APIs. Further payment modules are offered commercially.
This tutorial is based on Ubuntu 14.04.2 server with LAMP installed and should have a static IP address. Here, I use 192.168.5.119 as my IP.
Step 1: Download the zip file of PrestaShop and extract the file in the /var/www/html folder by using given commands:
cd /tmp
wget http://www.prestashop.com/download/old/prestashop_1.6.0.9.zip
apt-get install unzip
unzip prestashop_1.6.0.9.zip -d /var/www/html/
Step 2: Change the permissions for PrestaShop, as follows:
chown -R www-data:www-data /var/www/html/prestashop/
Step 3: We need to initialize a database for PrestaShop, create the database for the PrestaShop as follows:
Here we are adding database=prestashopdb user=prestashopuser and password=prestashoppassword:
mysql -u root -p
CREATE DATABASE prestashopdb;
CREATE USER prestashopuser@localhost IDENTIFIED BY 'prestashoppassword';
GRANT ALL PRIVILEGES on prestashopdb.* to prestashopuser@localhost
FLUSH PRIVILEGES;
exit
Step 4: Restart services
service apache2 restart
service mysql restart
Step 5: Open your browser and proceed with the PrestaShop web-installation by using link http:192.168.5.119/prestashop/install. Replace the IP address 192.168.5.119 with your IP address then select your language and press Next and in next page select check-box for accepting terms and conditions. Press Next.

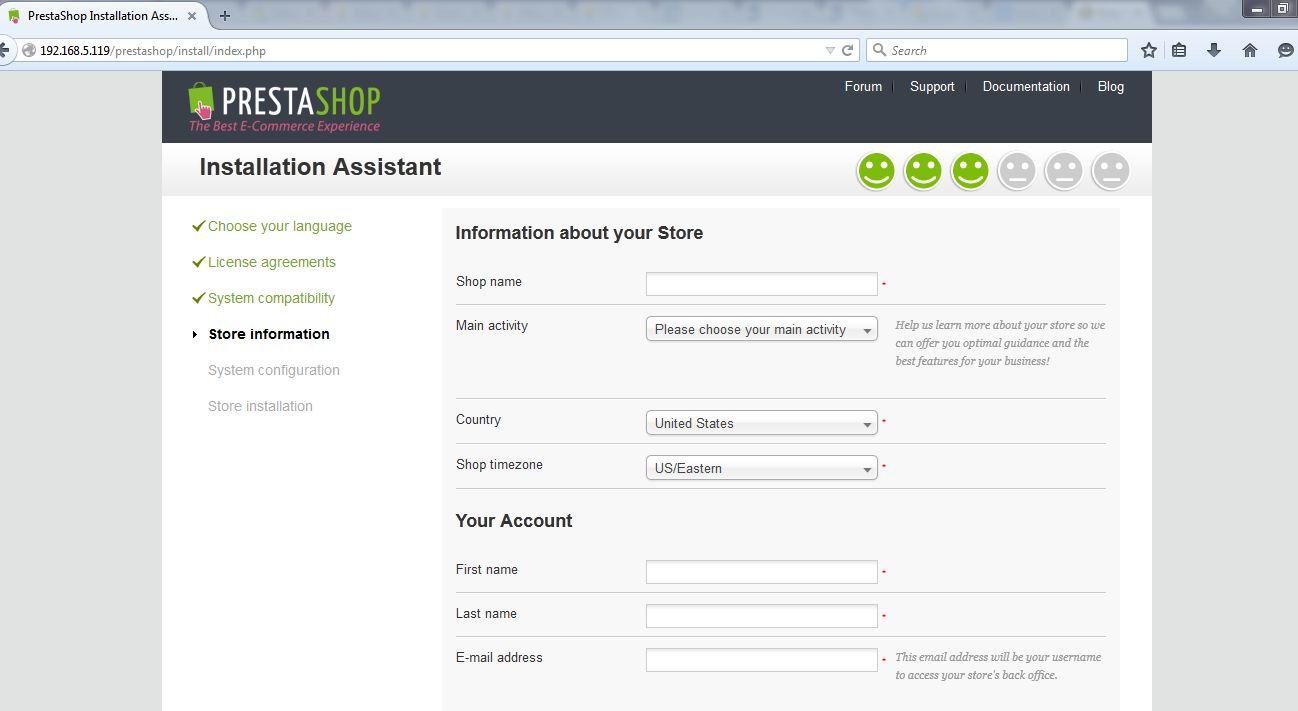
Step 6: In this step, it will check the required software suits in your system for the PrestaShop, if something is missing, it will show you the error message with required software. Install the required package then Press Next and fill-in the credentials.

Step 7: Next, configure the database to be used by PrestaShop, give the values as per the database created in step 3 or whatever you have provided while installing. After giving the values press Test your database connection now. It will check the connectivity, after successful connection press Next
 Step 8:. It will initiate the installation. The below screenshot shows the successful PrestaShop installation.

Step 9: Next, we need to remove the installation folder to proceed further, as follows:
This tutorial is based on Ubuntu 14.04.2 server with LAMP installed and should have a static IP address. Here, I use 192.168.5.119 as my IP.
Step 1: Download the zip file of PrestaShop and extract the file in the /var/www/html folder by using given commands:
cd /tmp
wget http://www.prestashop.com/download/old/prestashop_1.6.0.9.zip
apt-get install unzip
unzip prestashop_1.6.0.9.zip -d /var/www/html/
Step 2: Change the permissions for PrestaShop, as follows:
chown -R www-data:www-data /var/www/html/prestashop/
Step 3: We need to initialize a database for PrestaShop, create the database for the PrestaShop as follows:
Here we are adding database=prestashopdb user=prestashopuser and password=prestashoppassword:
mysql -u root -p
CREATE DATABASE prestashopdb;
CREATE USER prestashopuser@localhost IDENTIFIED BY 'prestashoppassword';
GRANT ALL PRIVILEGES on prestashopdb.* to prestashopuser@localhost
FLUSH PRIVILEGES;
exit
Step 4: Restart services
service apache2 restart
service mysql restart
Step 5: Open your browser and proceed with the PrestaShop web-installation by using link http:192.168.5.119/prestashop/install. Replace the IP address 192.168.5.119 with your IP address then select your language and press Next and in next page select check-box for accepting terms and conditions. Press Next.
Step 6: In this step, it will check the required software suits in your system for the PrestaShop, if something is missing, it will show you the error message with required software. Install the required package then Press Next and fill-in the credentials.
Step 7: Next, configure the database to be used by PrestaShop, give the values as per the database created in step 3 or whatever you have provided while installing. After giving the values press Test your database connection now. It will check the connectivity, after successful connection press Next
Step 9: Next, we need to remove the installation folder to proceed further, as follows:
rm -r /var/www/html/prestashop/install/
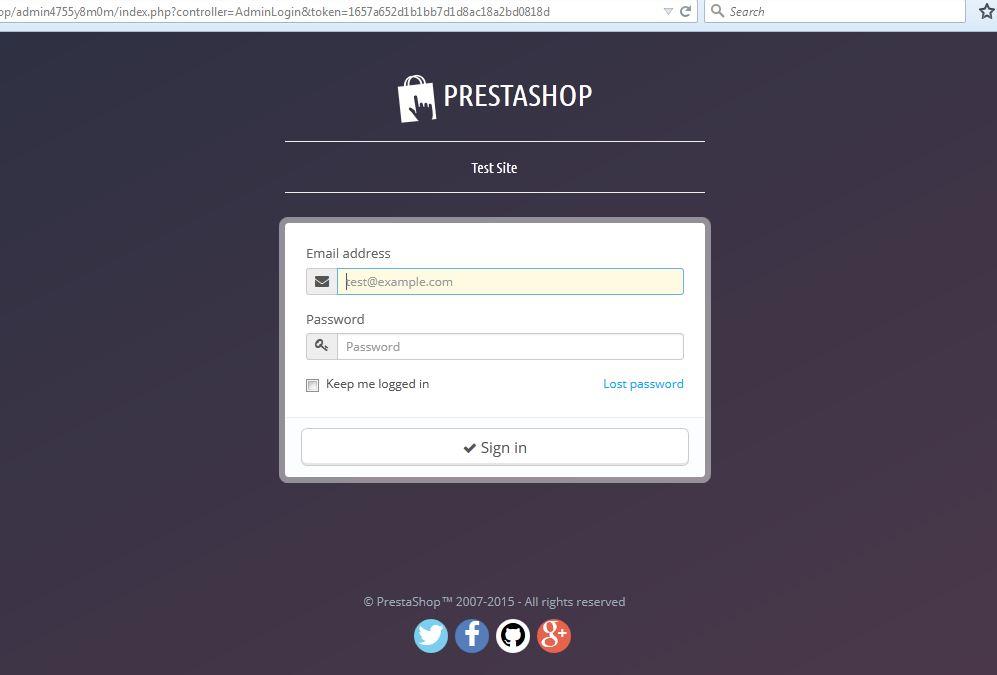
Step 10: We can access the backend admin page of PrestaShop at URL http://192.168.0.100/prestashop/admin4755y8m0m/index.php. Please check your admin name in PrestaShop folder at /var/www/html/prestashop/ directory as in my case it is "admin4755y8m0m". Once you open admin page, put the credentials as selected at the time of installation.

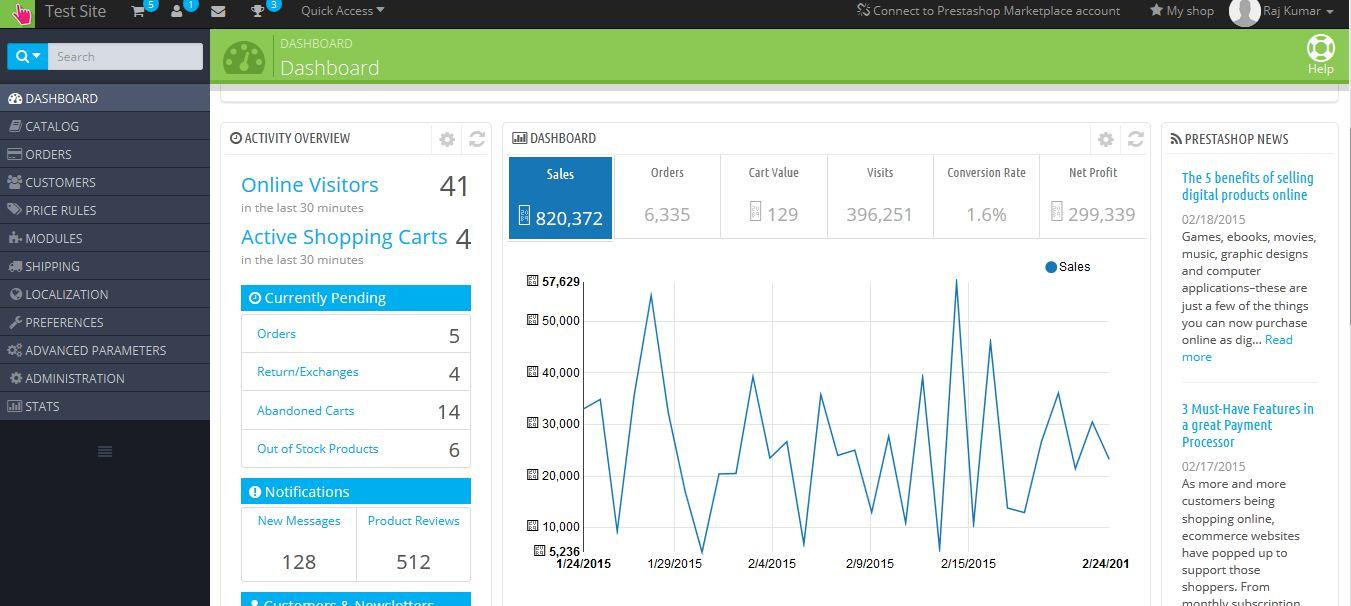
Step 11: After login, it will show your default welcome screen or dashboard.

Step 12: Now, we are ready for the frontend, we can access it at http://192.168.5.119/prestashop/index.php

Step 10: We can access the backend admin page of PrestaShop at URL http://192.168.0.100/prestashop/admin4755y8m0m/index.php. Please check your admin name in PrestaShop folder at /var/www/html/prestashop/ directory as in my case it is "admin4755y8m0m". Once you open admin page, put the credentials as selected at the time of installation.
Step 11: After login, it will show your default welcome screen or dashboard.
Step 12: Now, we are ready for the frontend, we can access it at http://192.168.5.119/prestashop/index.php


Post a Comment