How to take printout from your Android / iPhone's WhatsApp Messages


With the popularity of  WhatsApp, now businessmen also use this app to talk with their clients these days and if they want to take hardcopy of these messages then here is the way.

 Note: Here, we use Android Phone but this procedure is also applicable for iPhone


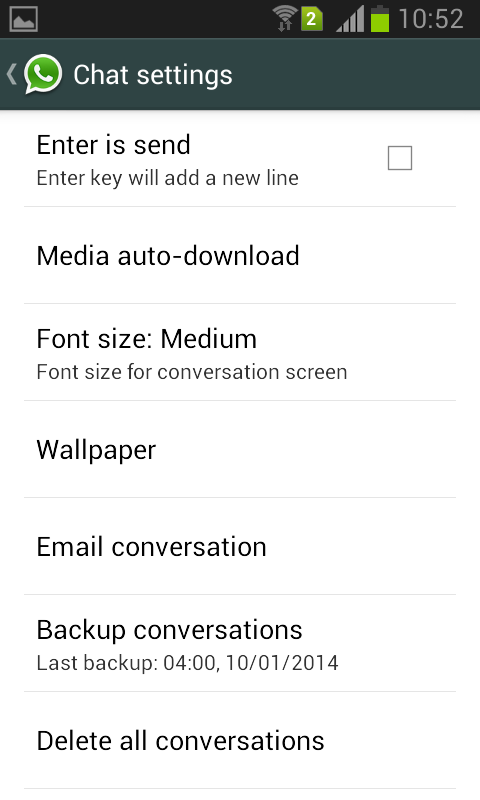
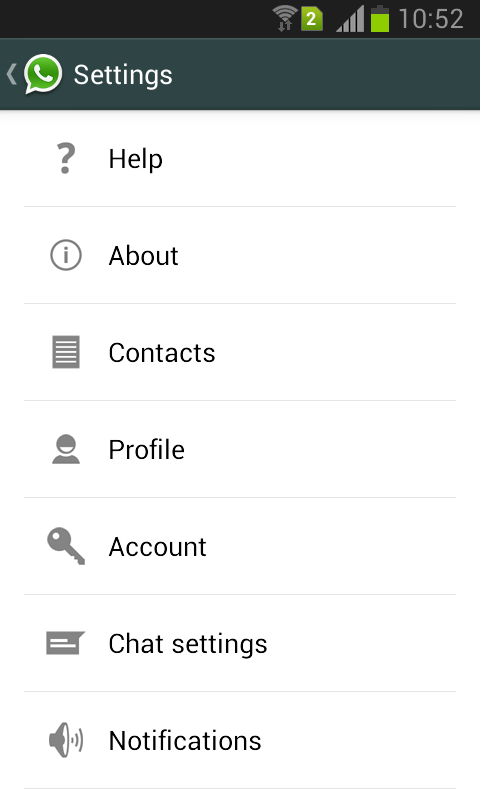
Step 1: On Android / iPhone's Open your WhatsApp   and go to settings.


Step 2: Once you open your WhatsApp chat settings then  select email conversation as shown below.
print whatsapp messagesprint whatsapp messages


Step 3: When you select an Email conversation option, it will show your WhatsApp Inbox, select the contact for which you want to take a print out.


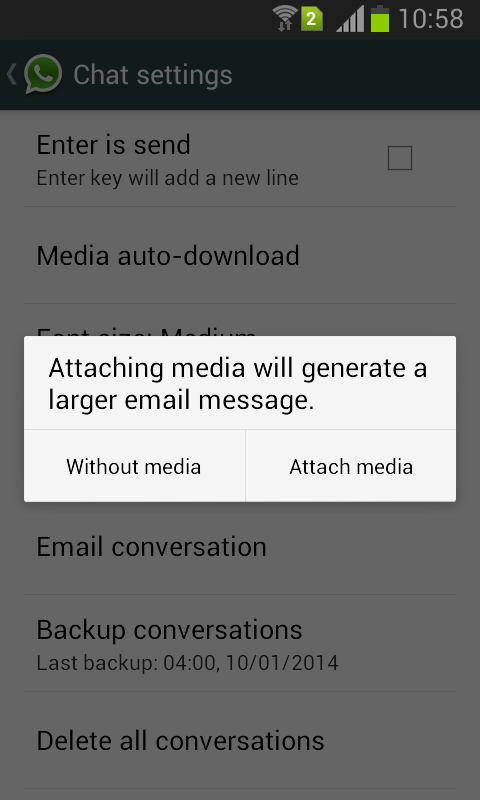
Step 4: Next step is  whether you want a conversation without media or with media.
print whatsapp messages

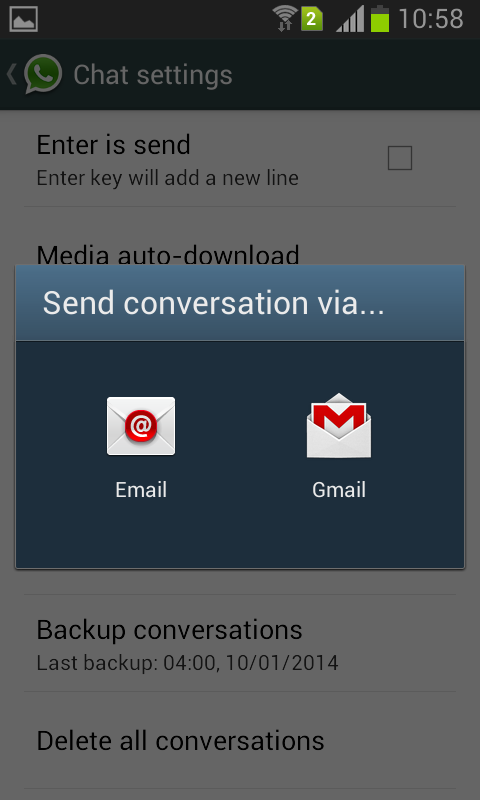
Step 5: Send conversation to your mail ID via configured mail address on your Android phone  either through Gmail or any other Email .
print whatsapp messages

Step 6: Once your message send, open your email on PC and download it.

Step 7: Open the downloaded file with Wordpad  and print it.

How to Set Up and Install Android L SDK On PC

Take a Look of Android L on your PC


Step 1 - Download the Android SDK installer from given link: http://developer.android.com/sdk/index.html. Here, we download windows version.
Note: You have to install Java development kit before SDK installation.

Step 2 - Now, install the downloaded Android SDK setup. Once installation done, run the Android SDK Manager application

http://cdn.teamandroid.com/wp-content/uploads/2012/06/android-4.1-sdk-setup.png

Step 3 - It might take some time to load the application and fetch all the Android SDK packages.
C:\Users\Raj\Desktop\l4.png

Step 4 - Once completed, now select the packages you want to install. Here, we select “Android 5.0.1” and “Android SDK Platform-tools” (under Tools). If you want to use hardware acceleration on Intel x86 Emulator image, then download Intel HAXM x86 from the Extras menu.

C:\Users\Raj\Desktop\l5.png

Step 5- Click on Install package options and it will be prompt to confirm and accept the license of the packages you want to install.

C:\Users\Raj\Desktop\l6.png

Step 6 - Click on the Install button and now wait for the all the packages to download and install.

C:\Users\Raj\Desktop\l7.png


Step 7: Once everything is installed, now let's set up the Android Emulator so that you can go through around Android L on your computer. Go to the TOP option to SDK Manager and run “AVD Manager”. Now click on New and create a virtual device with the details as in the screenshot below. Tick “Use Host GPU” for better loading times.

C:\Users\Raj\Desktop\l new.png 
 Step 8 - Click OK on the result window which appear after pressing the OK button and then select the virtual device you just created from the list and click on Start.

C:\Users\Raj\Desktop\new l.png

Step 9 - In the Launch Options, you can modify the launch screen by selecting scale display to real size option, click on the Launch button to start emulating.

C:\Users\Raj\Desktop\l15.png

Step 10 - The emulator will start and it will take around 5 minutes to boot when loading for the first time. Once your device is on you will get a full experience to try ANDROID L..


C:\Users\Raj\Desktop\l16.png